I’m sure you’ve noticed that, as AutoCAD designers, much of the work we do is modifying objects in our drawing that have already been created, by us or by other people. Some of the most common modifications use commands like Copy, Move, Erase, Mirror, or Rotate. Today I’d like to explore how to optimize the process of applying any modification command to an object, or group of objects, in AutoCAD.
To make a modification happen, AutoCAD needs to know two things from the designer:

Which is best?
- Which object(s) do you want to modify, and
- What type of action do you want to apply to them?
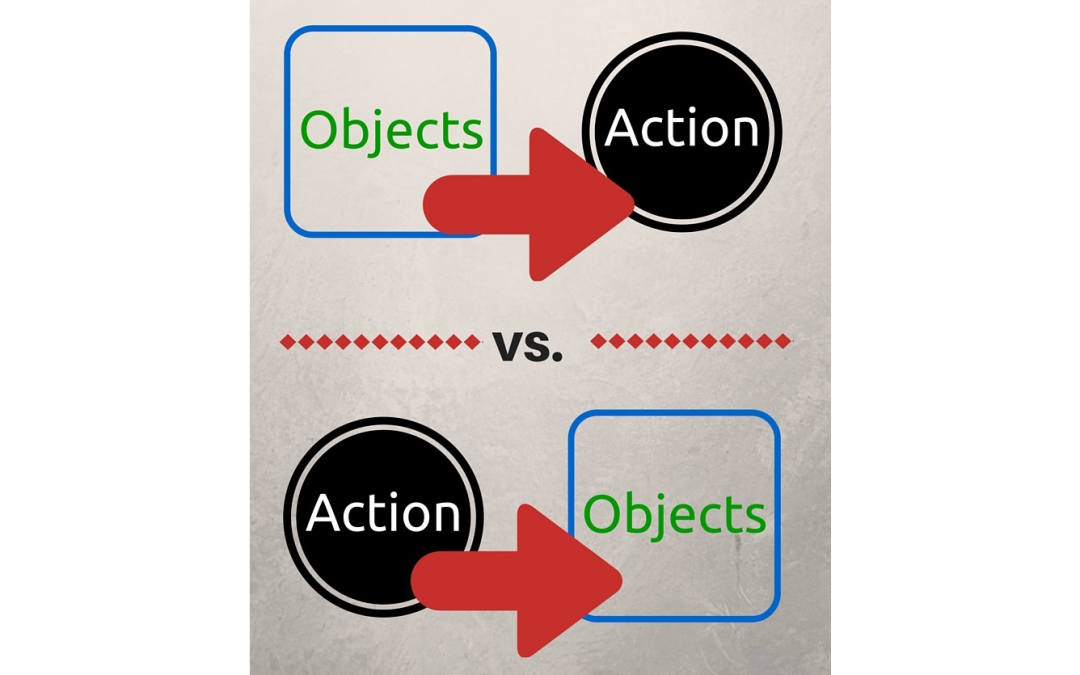
Here’s a question for you . . . What is the best order in which to answer these two questions?
I like to think of this as the Objects-Action Order Decision in AutoCAD. To use a sports metaphor, is the athlete in the picture below KICKING (action) the BALL (object), or is she making sure the BALL (object) is KICKED (action)? These are two different orders in which to use the ACTION and OBJECT words to build the sentence.[spacer height=”20px”]

Applying an action to an object
The choice is up to you…
For most modification tools, you have a choice to make between two procedures to perform the modification action upon your selection set of objects. Let’s say you want to erase three circles. You can:
- Select the circles and then click on the Erase button (Objects, then Action), or
- Click on the Erase button, select the three circles, and finish the command by hitting [Enter] (Action, then Objects).
The sequence of these steps is a decision that the CAD designer must make over and over, maybe hundreds of times in a single day. As I shared in an earlier post, one of my favorite tips for increasing one’s speed in CAD is:[spacer height=”20px”]
Notice which actions you repeat most frequently, and then streamline those tasks.
[spacer height=”20px”]So — which sequence is the better choice:

Object/Action Order
- Objects, then Action? or
- Action, then Objects?
The advantage of the “Objects, then Action” sequence is that you can select any number of objects, and then perform the desired Modify command (using a hotkey or the ribbon button), and you’re done. This is the simpler procedure, requiring only two steps.
If you go with the “Action, Then Objects” procedure, there is an extra step you must take — hitting the [Enter] or [spacebar] key at the end. You start by clicking on the Erase tool (or other modify tool), and then you select one or more objects. In the command line, AutoCAD instructs you to “Select Objects.” It repeats this same suggestion, no matter how many objects you select. AutoCAD cannot read our minds, so it has no way of knowing whether you intend to select additional objects, or just go with your current selection set. You must hit either Enter] or the [spacebar] key to tell AutoCAD that you are done selecting objects, and you’re now ready to complete the Action on the selection set.
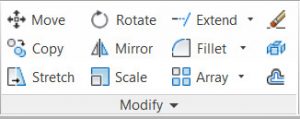
Modify panel
Between the two choices, the “Objects, then Action” sequence wins for simplicity. In most cases, I prefer this procedure.
However, there are a few modify commands in which AutoCAD does not give you a choice — you must choose the “Action” tool first, before selecting any objects. Examples are:
Fillet, Lengthen, Divide, and Break.
Other than these four (or three if you don’t count Divide, which is technically not in the Modify panel), you have a choice to make between the two procedures discussed above.
Secret Selection Tools
If you want to use one of these little-known object selection tools, you must choose the “Action, then Objects” sequence:
- Fence (hotkey is F)
- Window Polygon (hotkey is WP)
- Crossing Polygon (hotkey is CP)
- Previous Selection Set (hotkey is P)
The Fence tool allow you to create or modify a selection set using a chain of line segments that select any object they touch. The Window Polygon and Crossing Polygon tools allow you to make a polygon by clicking at least three points (similar to a lasso tool) to select objects by surrounding them (WP) or by touching them (CP). Previous Selection Set (P) re-selects the most recent selection set.
There is a little-known way to remove objects from a selection set– but only if you are using the “Action, then Objects” sequence. This is to type R [Enter] and then click on the objects you want to remove. After removing unwanted objects using R [Enter], you can then go back and add more objects to the set by typing A [Enter] and selecting them. Just remember that R is short for “Remove” and A is for “Add.” Again, this R and A method only works if you start the Action first, and then select the Objects.
There’s no hard and fast rule for the Objects-Action Order that says one sequence is better than another. However, I do think that in order to get really good at AutoCAD, you need to be consciously aware of every small choice or move that affects your outcome. It’s the same as an athlete training for the Olympics. The best ones know what small things to do in every situation to get the best results.
Do you have ideas or methods that are different from, or add to the ones I’ve mentioned? I’d love to share them with my readers.
Have a great day, and Keep On CADDing! 🙂
Mark